

Hello all.
In this year of 2020 it is so important with the Covid-19 going around to protect ourselves and others to prevent the virus from spreading.
Making a mask and encouraging hand washing is an action we can take, and that can be a help.
I thought I would share what I made in the hope it might encourage or help you to sew a mask. First things first, you need a pattern. I began by cutting out a rectangle approximately 7 inches by 9 inches.

So, you need to decide what fabric are going to use. The experts suggest using anything that’s 100% cotton for the outer layer. To help filtrate, it is important to use interfacing or another layer of fabric in the middle inner layer.
Some people have been using a fabric called Oly-fun interfacing. The disposable masks hospitals use is a 3 ply layer of this type of fabric.
This oly fun fabric can melt at really high temperatures and because of the high temperature sanitation protocol at the hospitals; they are not accepting mask made with Oly-fun. However, some doctor clinics will accept these, but if you’re just using it for everyday use and washing it with hot soapy water, it should be just fine.
Where do you get this Oly fun Fabric or interfacing? These produces are hard to find right now any where in store or online. However most people have reusable fabric bags somewhere around their house. That is what I used for the inner layer of the face mask I will be assembling today.
Many may have the blue Wal-Mart ones laying around their house.

The fabric is thicker and stiff and has a dotty appearance. Don’t use the kind that has the shiny layer on the outside. The kind you want to use has a dull appearance on both sides. This is the same fabric as the Oly-fun. If you’re wanting to make masks for hospitals, I would use a fabric interfacing, but before doing so please check your local hospital to know what their guidelines are prior to donating.
According to John Hopkins University, This virus is actually a protein which is covered by a fatty layer of protection. It’s actually quite fragile. Soap breaks down that fatty layer of protection which then causes a disintegration of the protein which make it ineffective.
However, when this protein comes into contact with a human cell by mucous, saliva or any other bodily fluid, it creates mutation of the DNA which causes the cell to multiply and become attacker cells.
Therefore, it is important that after you use your face mask in an area that could be infected that you wash it with soapy warm water in the washing machine or just as you would with your hands in the sink.
Moving forward, we need to cut out two pieces of this fabric for the inner lining with the 7 x 9 pattern.

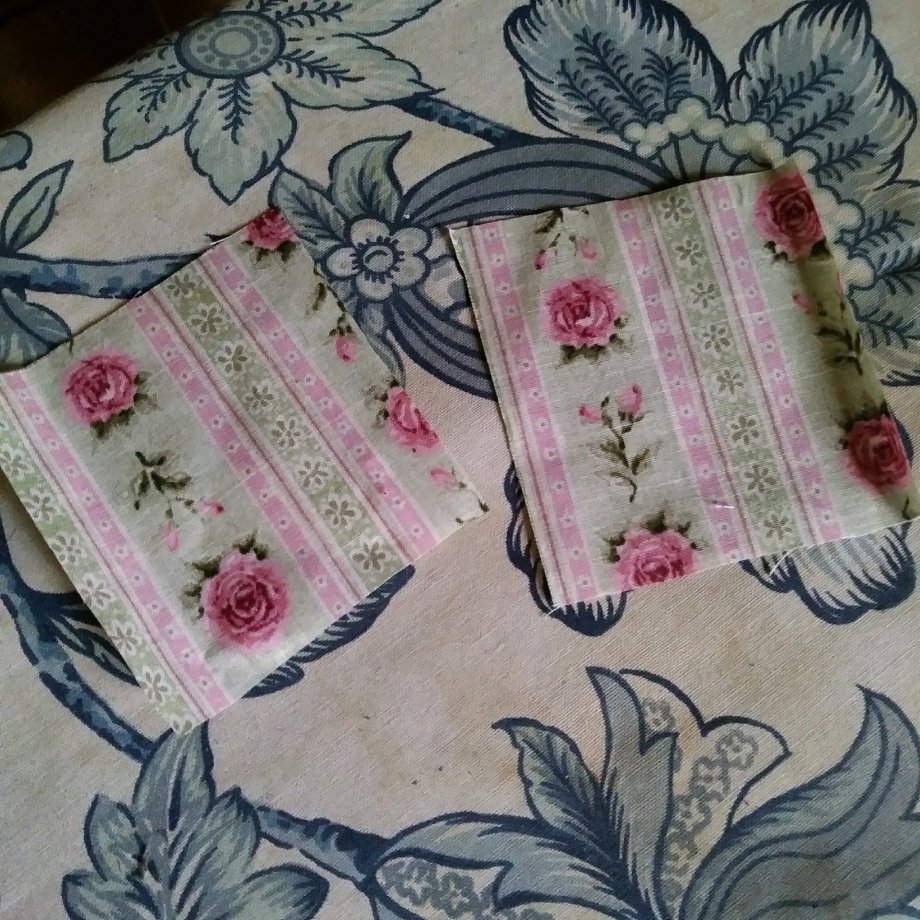
After this you will need to cut two pieces of cotton fabric to use as your outer layer. You can use the same piece of fabric or as I did make two different pieces of fabric. I like the idea of two different design pieces of fabric to make the front and back more visually noticeable.
After doing all this work to help protect yourself, you wouldn’t want to take your mask off and not know which side your face was on.


Now that we have all four pieces cut we can put them together and begin a sewing process.

You want to make your outer fabric your oly fun or interfacing fabric. Put them on the outside and sandwich your two cotton pieces of fabric right sides facing each other on the inside. See picture above.

After putting these four layers together and pinning them, you’re going to want to leave two pins in place about 2 in apart so you know where to start and stop.
You want there to be a hole between the two pins so you can pull the fabric through.

Start sewing at the needle and go all the way around till you get to the needle that is about 2 in away. Don’t forget to back stitch to keep your stitches in place. When you are finished, it should look like the picture above.


Now you want to trim your edges and cut off the corners. When you flip your project right side out, your points will be more pointed beacuse of this step. Be careful when trimming not to accidentally cut your seam line.


Next you want to push your fabric through that hole you left open and pull it through. When you’re finished pulling it through it should look like to right side pieces of the fabric facing out in a rectangular shape.

Now we’re going to sew right along the edge where the hole is to close it up. I start on one side and go all the way across to the end.
After closing up the hole we are now going to place mark lines on both sides of the fabric to know where the pleats will be. The fabric is going to be pretty thick and hard to put the pins through and may even be hard for some sewing machine to sew through. Just do the best you can.


After marking both sides of the fabric and creating the pleats, we are going to sew those pleats in place on the sides. Once that is complete, we are going to cut out casings that we are going to sew to this piece which will help our face mask to stay on our face. I measured the finished rectangular piece to know how much I needed to cut and made a pattern.


I cut out two more pieces of fabric with the new pattern square that I made. I then ironed about 1/4 to 1/2 in on both sides to create clean edge for a seam line.


Great initiative !
WOW!!! Thanks for the instructions!!! I’ll try it out!!!
I would like to see what you come up with!
Thanks! I’ll make up a post about them if i can dig up some time!
You might need a shovel!
Hahaha!!! LOL!
That is so awesome. Takes some talent!
Amazing!! That is very helpful 😊
Amazing masks!😷